Statuses & Alerts
Ensure the Delivery system (Alert) to associate has been created previously in the Delivery systems page.
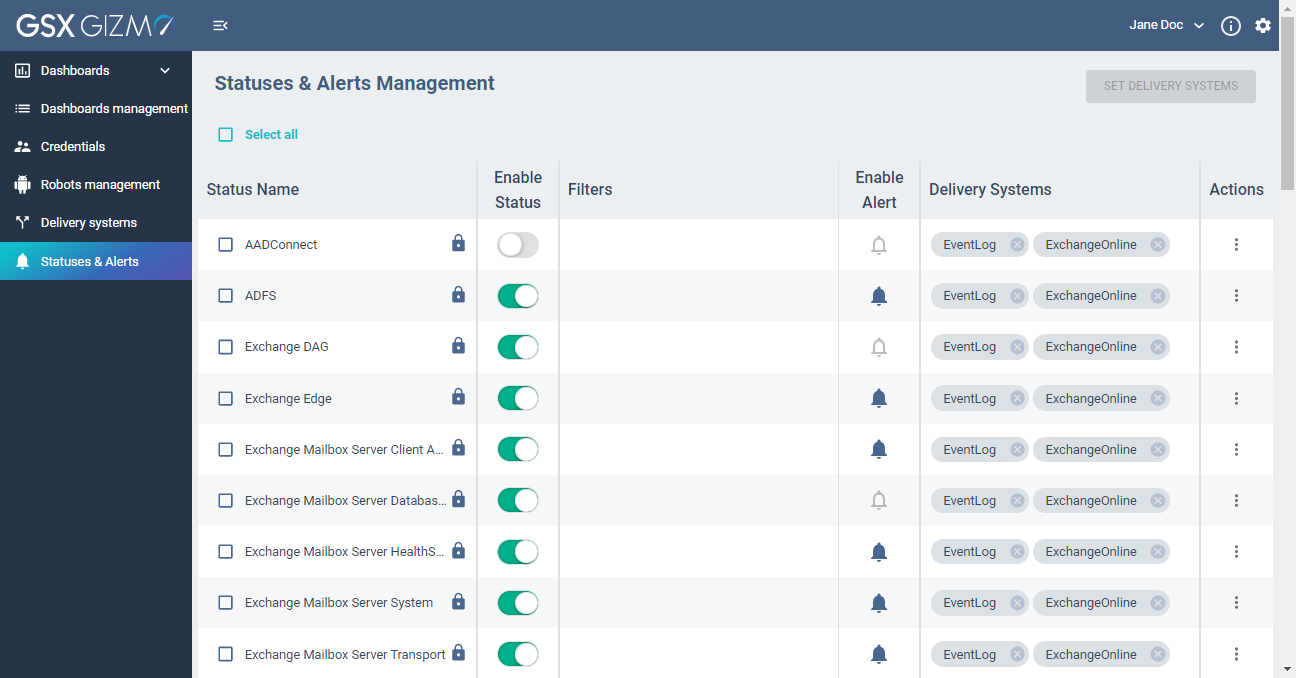
The Statuses & Alerts page is displaying a list of existing alerts with:
The Status Name.
If the Status is enabled or not.
Associated filters.
If the alert is enabled or not.
Associated Delivery System(s).
Assigning a Delivery system
Click on the Status Name to set (you can click on several at once).
Click the Set Delivery Systems button. It opens the Set Delivery Systems panel.
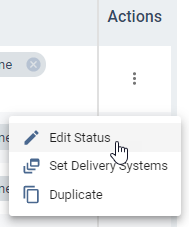
You can also access a Set Delivery Systems button using the Actions menu.
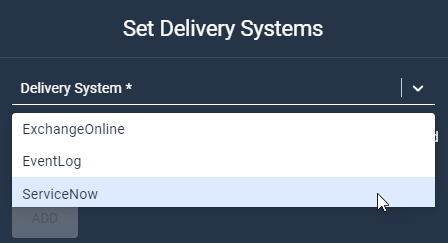
In the drop-down list, select the Delivery System you wish.
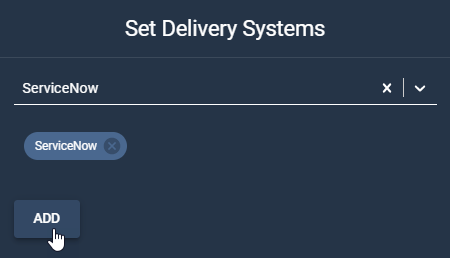
Click the Add button to confirm.
A new Delivery System is now added for the selected Status Name.
Delivery Systems can easily be removed by clicking on the little cross in the label.
Enabling status and alerts
Status
Push the Enabled button to activate / deactivate the status.
Alert
Click the Bell icon to activate / deactivate the alert.
An alert cannot be activated if the status is disabled.
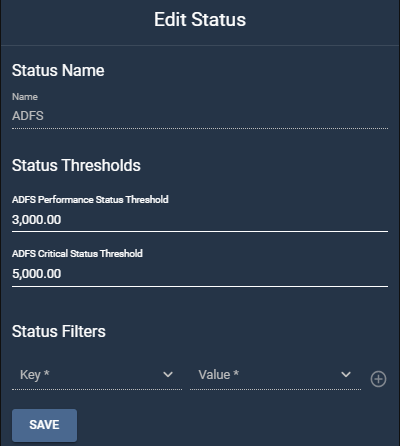
Editing thresholds
Thresholds are editable on any dashboard (system or custom).
Click the Actions button located on the desired Status Name.
Click Edit Status.
It opens the Edit Status panel.
Edit the thresholds.
Click Save to confirm.
Managing filters
Filters allow you to be alerted on the health of a group of Robots, based on specific criteria, thresholds, etc. These Robots are identified through filters by tags.
The tags to be added must be first created on the Robots management page. They are then appearing in this view.
You only can create filtering tags for custom status name.
Use case
In this example, we would like to be alerted by specific robots measuring the Teams Advanced user experience located in APAC countries.
Instructions
Create a dedicated custom dashboard
For this use case, this dashboard would be called Teams Advanced- APAC.
See how to create custom dashboard in the Dashboards management page.
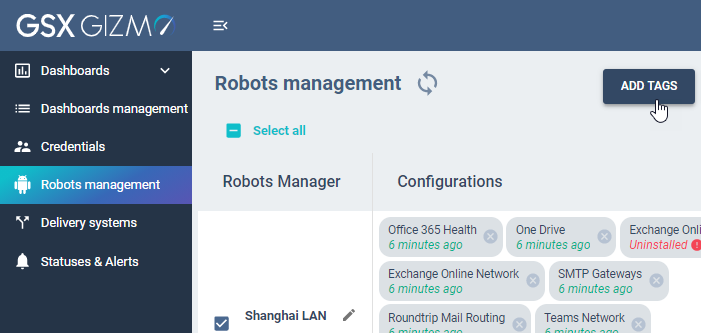
Create a dedicated tag in the Robots management view
For this use case, this tag would be called APAC and be added to any robots located in APAC countries.
In the Robots management page, select the desired robot.
Click the Add tags button.
See how to create and add tags in the Robots management page.
Add the dedicated tag to the Status name
For this use case, we would add the APAC tag to a Teams Advanced - APAC status name (previously created).
Click the Actions button located on the desired Status Name.
Click Edit Status.
It opens the Edit Status panel.
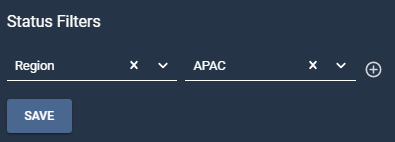
Edit the Status Filters section using your selections with the drop-down lists.
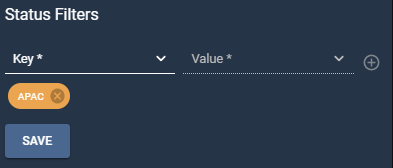
Click the + button to add the tag.
You can add as many tags as you need.
Then click Save to confirm.
You can see the APAC tag added in the Filters column.
Add the dedicated component status to the custom dashboard
Go back to the Teams Advanced APAC dashboard you previously created.
Click the Edition mode button.
Click the + button. It opens the Add a new component panel.
Click the Add a status component area.
Click Next.
For this use case, we would name it Teams Advanced APAC.
Select the Teams Advanced APAC status name in the drop-down list.
Click the Add button to confirm.
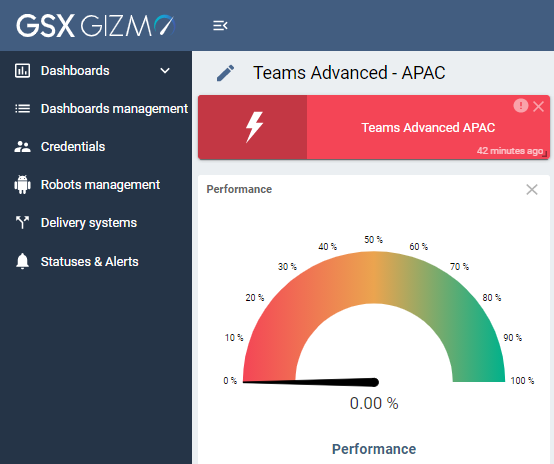
The Teams Advanced APAC status component is now added in the custom dashboard.
You will now visualize the health of robots measuring the Teams Advanced user experience located in APAC countries.
