How to manually register Gizmo in Azure AD for SSO
ON-PREMISES
Applies to Boston 2.0 +
When you enable single sign-on (SSO), Gizmo automatically registers as an enterprise application in your Azure AD environment. If you prefer to register the Gizmo application manually, you can do so using the following procedure.
Instructions
Log into the Azure Portal and navigate to App registrations.
Select New registration.
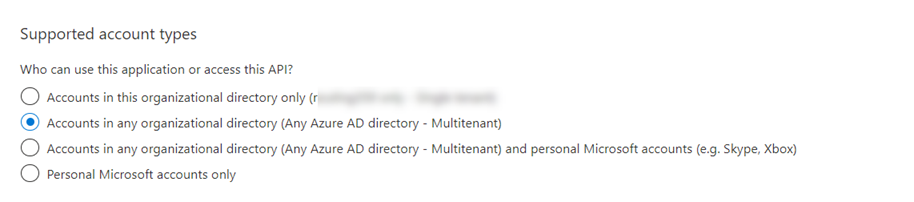
Assign a name to the registered app and select Accounts in any organizational directory (Any Azure AD directory - Multitenant):
- Select Register to save the setting.
- Navigate to the Authentication section called App registration/YourAppName/Authentication.
Enter a destination in the Redirects URI field and select the following options: Access tokens and ID tokens.
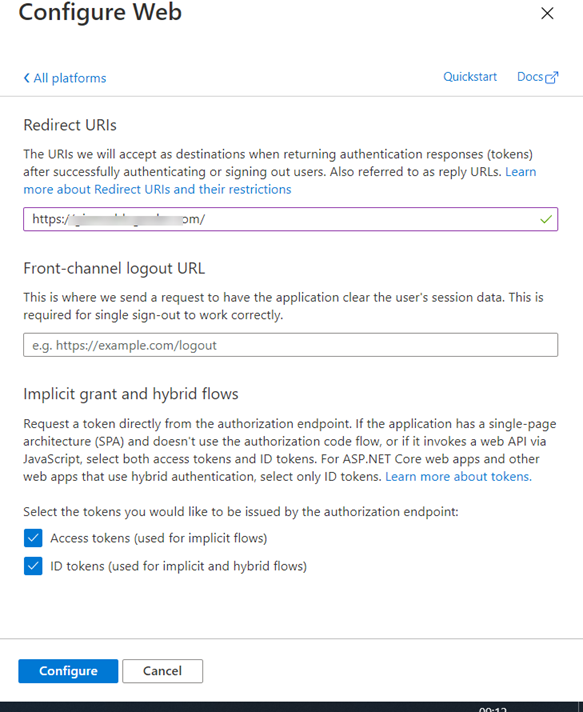
- Click Configuration to save the settings.
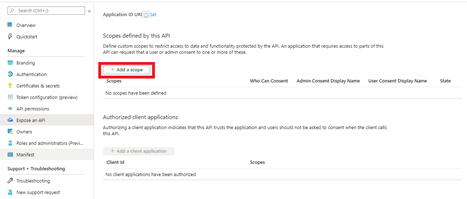
- Navigate to App registration/YourAppName/Expose an API.
- Click Add a scope.
- Click Save and continue.
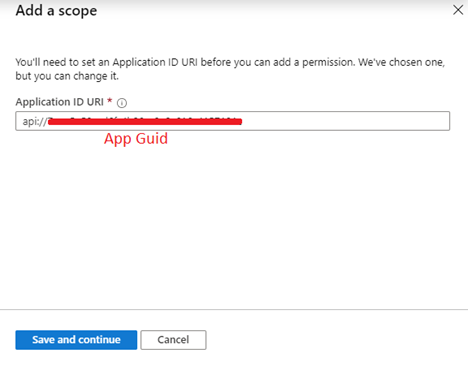
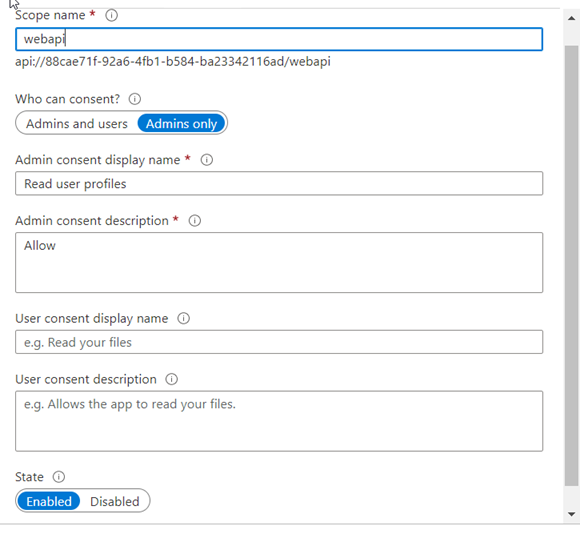
In the Scope name field, enter webapi and select an option in the Who can consent field.
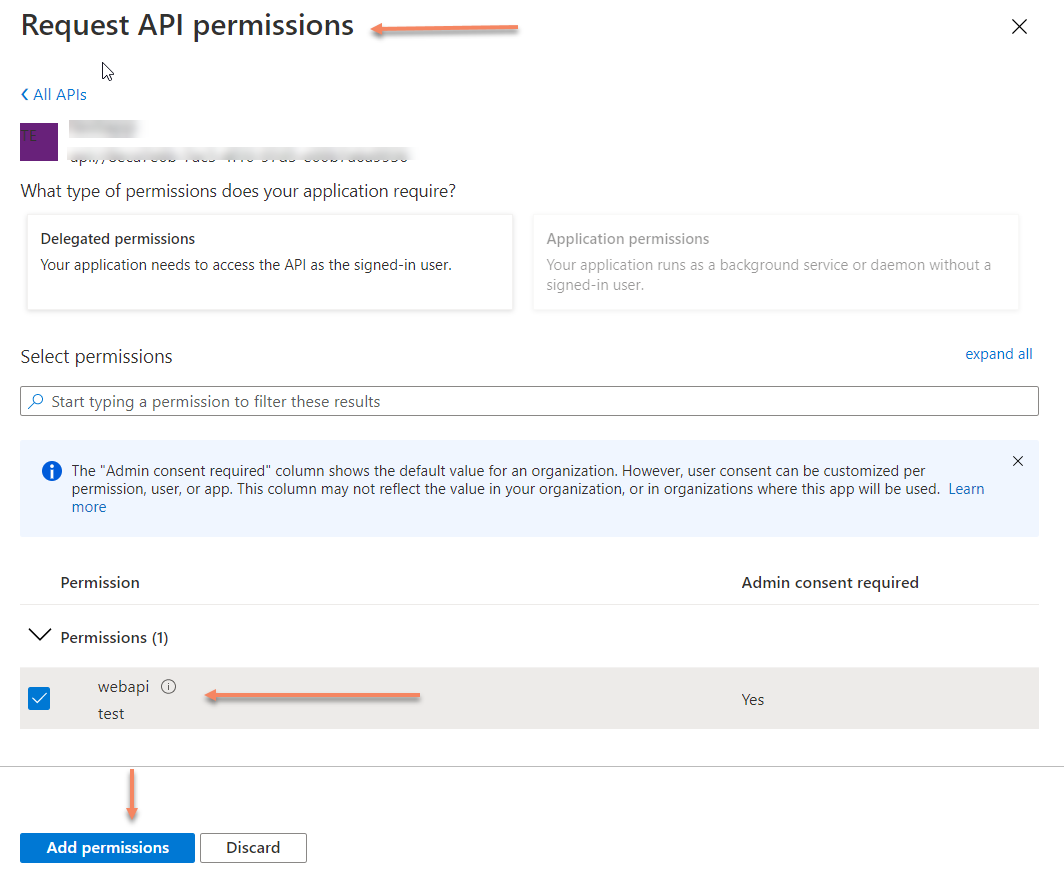
In the navigation pane, select API permissions.
In the Request API permissions dialog box, select webapi and click and Add permissions.
- Log into the Gizmo server and navigate to the WebAPI folder. The default location is C:\Programfiles\GSX solutions\GSX-Web-UI\WebApi
Open the appsettings.json file in Notepad and update the client id with the App client id that you created.
- Save the file.
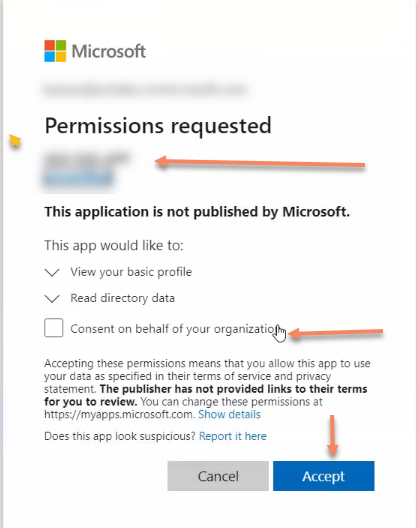
- In the Gizmo WebUI, click the Authentication icon and enable SSO. Gizmo redirects you to Azure AD and you are prompted to consent. Select Consent on behalf of your organization and click Accept.
Users are now able to access the Gizmo WebUI using their Office365 credentials.